Introduction
There are a bunch of VRChat (hereafter VRC) avatars out there, and due to its popularity in Japan, there’s a growing market for VRC-ready avatars on digital marketplaces like pixiv’s BOOTH service. However, you can’t just toss a model into VRC and call it a day; you need to jump through Unity, the underlying middleware that supports VRC’s official development tools.
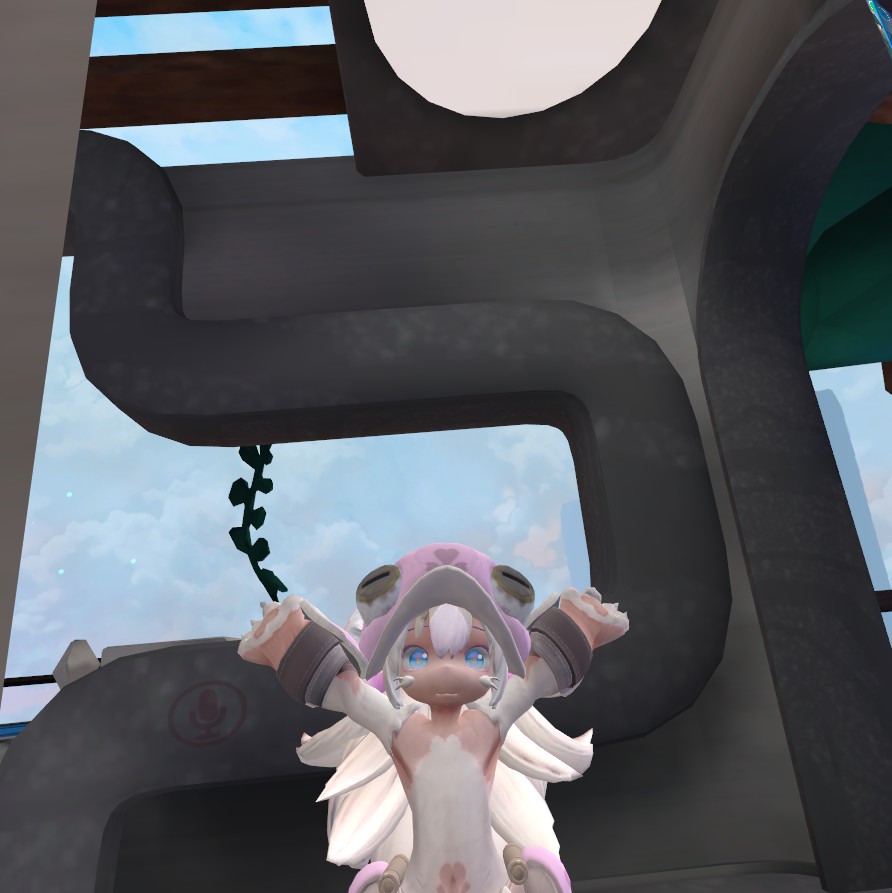
To learn how to upload avatars from a secondary source, we’ll be using a free one: the fluffy-cute Lesser Mokuri, from the guys who host Virtual Market.
★ Please note that this only goes over the basics of importing a model that you find elsewhere, and not how to optimize the model for best performance. That will be covered in a separate post! In the meantime, I highly recommend Lhun’s Avatars 3.0 video tutorial on YouTube.
What you’ll need
- Unity 2018.4.20r1 (Refer to VRChat SDK documentation here);
- VRChat SDK2 (requires you to log in);
- The Lesser Mokuri model from HIKKY/Root Studio’s official Mokuri webpage.
- Pumkin’s Avatar Tools (https://github.com/rurre/PumkinsAvatarTools)
and, optionally,
- Dynamic Bone ($20 from the Unity Asset Store: https://assetstore.unity.com/packages/tools/animation/dynamic-bone-16743)
You’ll also need a VRChat account that is able to upload content. (Freshly made accounts aren’t able to upload content by default; at some point VRChat will give you both an in-game notice and an email saying you’re clear.)
The Workflow
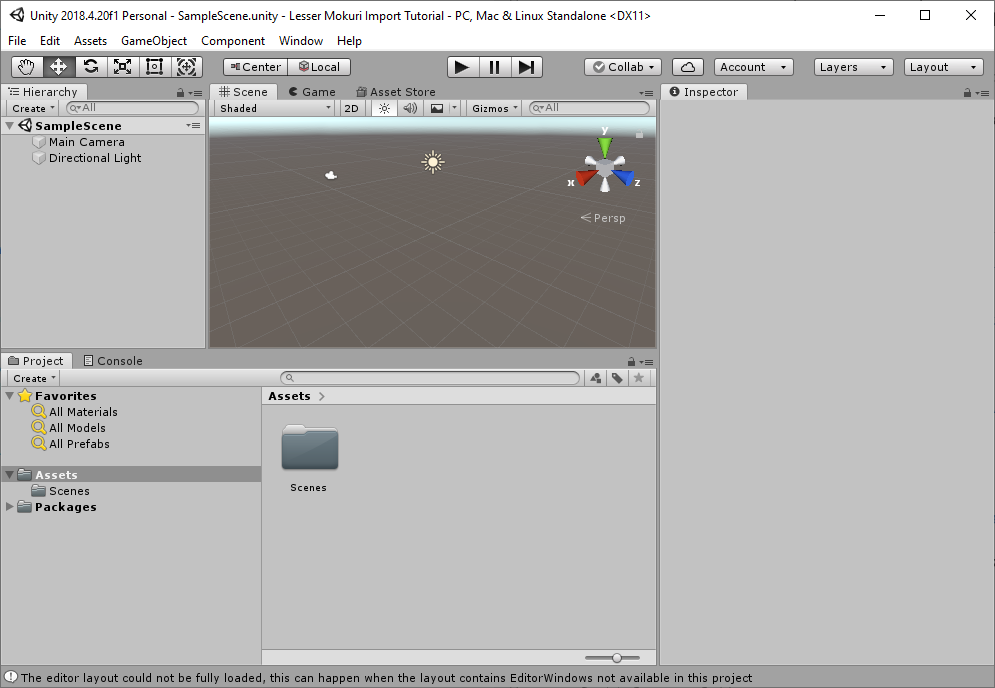
Make The Project
Make a new project with the 3D template, and store it wherever you’d like. You’ll be presented with a window that looks like this:
Import The Things
Import the Unity packages you’ve collected in the following order:
- The VRChat SDK
- Pumkin’s Avatar Tools
- Dynamic Bone (if you have it)
- The Lesser Mokuri model
You can do this in one of several ways:
- The Drag-n-Drop Way: Drag and drop the .unitypackage files from Windows into the Assets folder in Unity.
- The Top-Menu Way: Under the Assets menu at the top, hover over Import Package and then click Custom Package…, then navigate to the asset package you want to install.
- The Right-Click Menu Way: Right click on the Assets folder, hover over Import Package and then click Custom Package…., then navigate to the asset package you want to install.
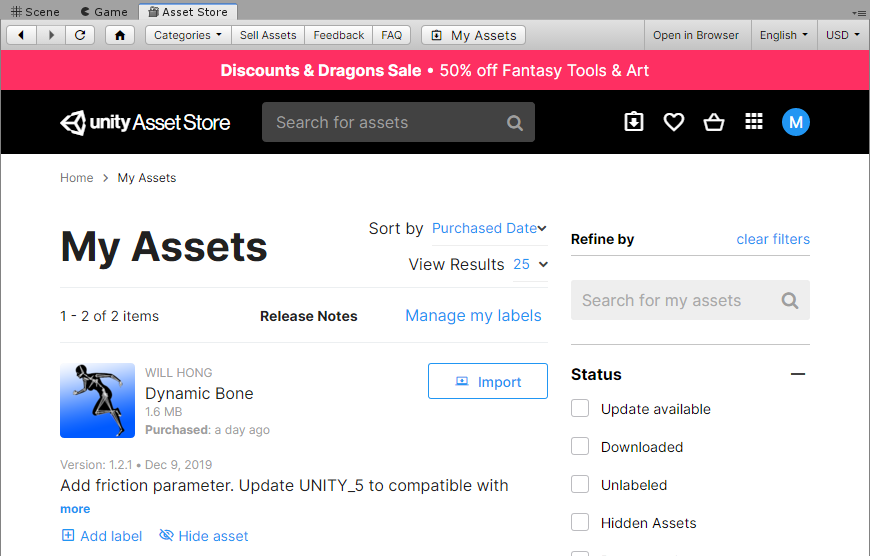
For Dynamic Bone, since it’s a Unity Store asset, click on the Unity Store tab, click on your colored profile circle in the upper-right, and click on My Assets. Alternatively, if you have a copy that you’ve saved separately to your computer, you can follow the above steps.
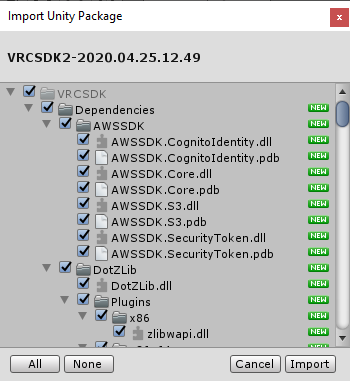
Each time you import a package into Unity, you’ll be asked what you want to import, in a dialog that looks like this. It should have everything selected by default; click Import and let Unity do its thing.
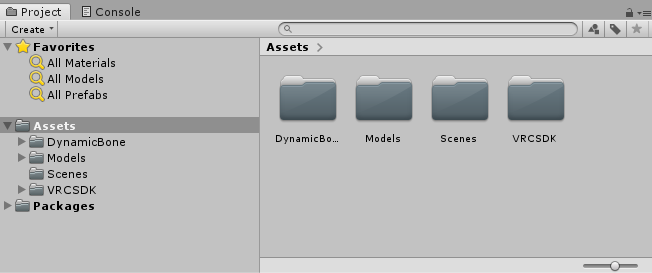
After you do all of that, your Project tab should look like this:
Open the Lesser Mokuri Scene
Go ahead and double-click on the Models folder, and then on the レッサーモクリ ("Lesser Mokuri") folder. It will open up to look like this:
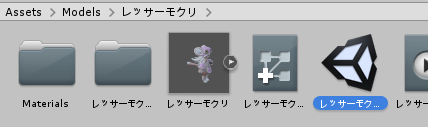
Double-click on the Unity scene labelled レッサーモクリ, as highlighted above; the icon (the Unity logo) looks like a cube. You’ll open up the レッサーモクリ scene, and a Lesser Mokuri will pop up in the viewport above!
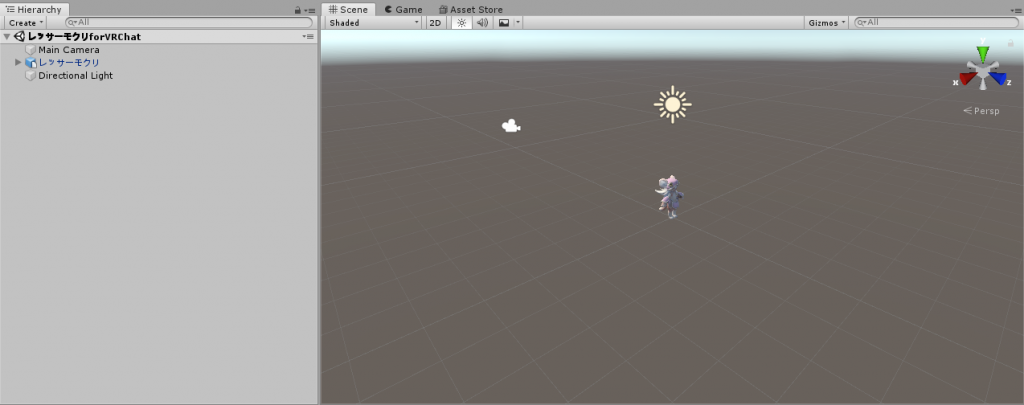
This is a premade scene that comes with the Lesser Mokuri Unity package that has a Lesser Mokuri already imported for you with all of the proper VRChat metadata already attached, including controls for mouth movement and the proper "viewport" setup.
Here’s how to move around in the Unity viewport using your mouse so you can see your Lesser Mokuri model in all of its cuteness:
- Scroll wheel: Zoom in/out
- Middle click drag: Pan around
- Right click drag: Rotate "1st-person" view
- Alt+left click drag: Rotate "around" your model
Build and Publish!
In the Hierarchy tab in the upper-left, click on the レッサーモクリ entry. A bunch of info will populate the Inspector; don’t mind that. In the top menu, click on VRChat SDK, and then Show Control Panel. It’ll ask you to log in; go ahead and do that, then click on the Builder tab.
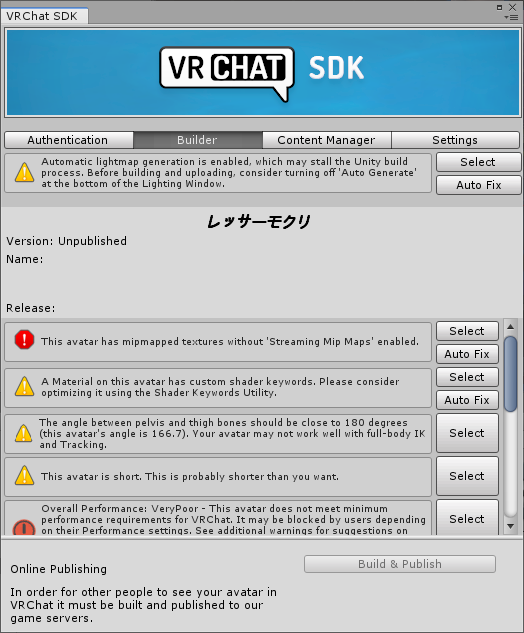
There will be a couple of errors on this page; click on Auto Fix for the first two (don’t worry about the third one), and then click Build & Publish. Unity will process your avatar, and eventually show you this:
Name your avatar (that’s the name that’ll pop up in VRC), give it a short description, and make sure it’s set to Private (you can easily toggle the Public switch on later).
Optionally, you can adjust the image to make it look a lot more photogenic. Click on the Pause button on the top. This will remove the UI and bring you back to the viewport view.
In this view, there are two things you should edit:
- Directional Light: This is an omniscient light that doesn’t care about its position, only which way it’s lighting. Click on the sun icon in your viewport or the Directional Light light in the Hierarchy tab, and use the Rotate tool (the one with two arrows chasing each other in a circle) to rotate it around until you find a flattering angle for your Mokuri.
- VRCCam: This is the camera for your avatar preview. Click on the camera, and then use both the Rotation and Position (the "DDR pad" arrow icon) tools to move it in place — there should be a camera preview in the corner that shows you what it’ll look like. You can also adjust the field of view in the Inspector to adjust how much you want to capture, as well.
Once everything’s set, click the Pause button again to return back to the upload UI. Click the checkbox that says it’s OK for you to post it, and then click Upload!
WIP – more to come.
- How to troubleshoot
- How to edit the shaders
- How to add accessories